
Brewing espresso at home can be a rewarding experience, offering rich and nuanced flavors in every cup. However, crafting the perfect shot demands precision and consistency. One of the most debated steps in this process is tamping. How much pressure should you apply when tamping espresso? This guide breaks down tamping fundamentals, techniques, and common mistakes, helping you consistently achieve exceptional espresso shots. Explore the features and performance of this machine in our Philips 5500 LatteGo review
Why Tamping Is Essential for Great Espresso
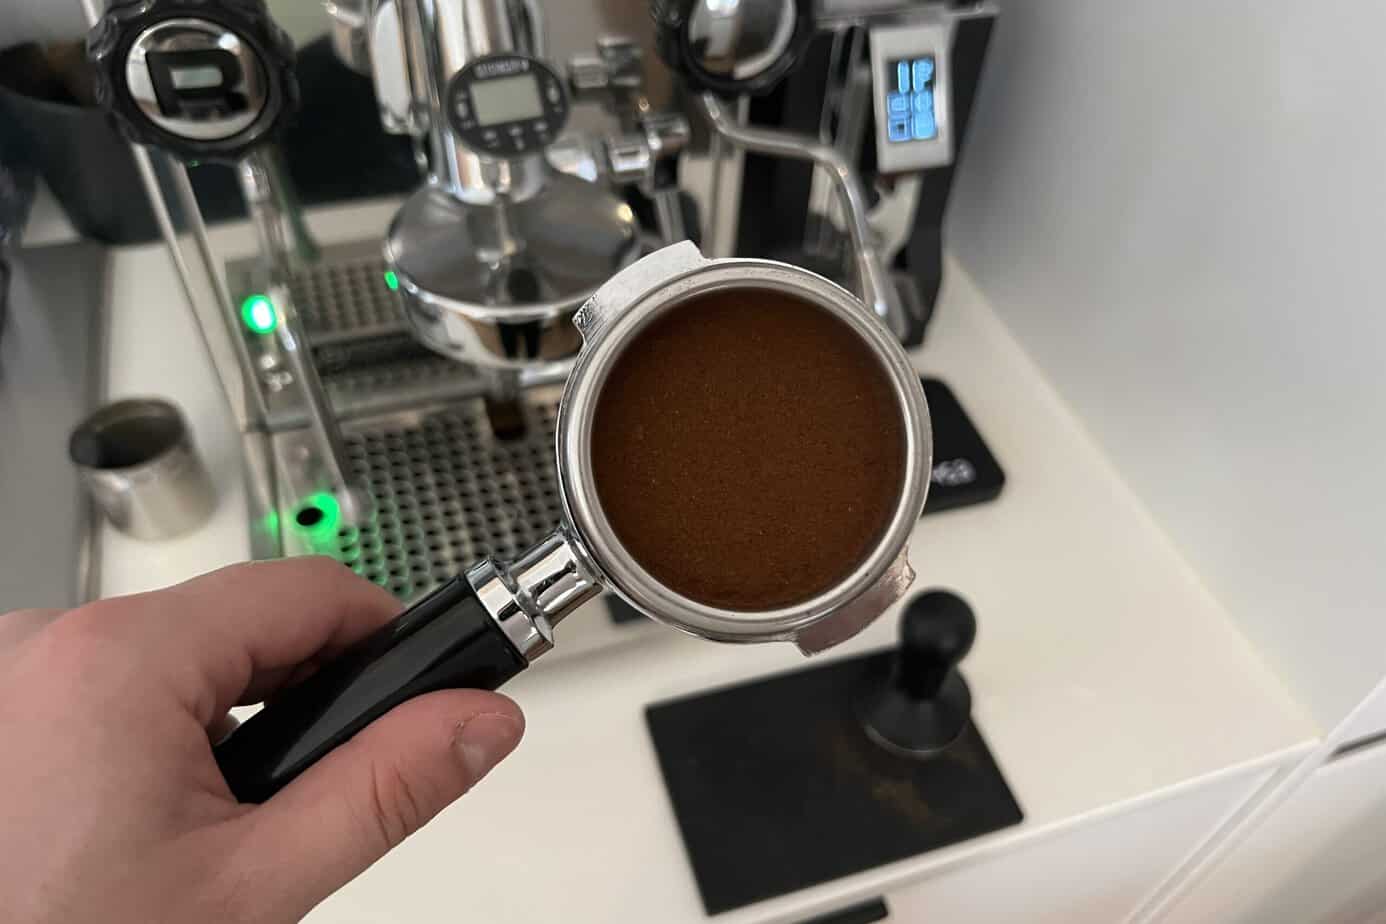
Tamping is a vital part of the espresso-making process. By compressing coffee grounds into a uniform puck, tamping ensures water flows evenly during brewing. Uneven tamping can cause water to channel through the grounds, leading to poor extraction and inconsistent flavors. Dive into the details of the Philips 5400 LatteGo review
Proper tamping helps address two common problems:
- Under-extraction: Produces a weak, sour espresso.
- Over-extraction: Results in a bitter, unpleasant taste.
The goal is to create a flat, evenly compressed surface that promotes uniform water flow, resulting in a perfectly balanced espresso shot. Compare these two models in our Philips LatteGo 5400 vs 4300 review
How Much Pressure Should You Use?
The often-cited recommendation is about 30 pounds of force, but this is more of a guideline than a rule. What truly matters is consistent and even pressure every time you tamp. Discover the differences between these machines in our Philips 3200 vs 4300 vs 5400 review
Tips for Tamping Pressure:
- Press down firmly until the coffee grounds feel compact and resist further compression.
- Avoid excessive force; over-tamping can lead to over-extraction and bitterness.
- Insufficient pressure can cause under-extraction, leaving your espresso weak and watery.
Develop a technique that feels natural, and aim for consistency with each shot. Learn how these two models compare in our Philips 3200 vs 4300 review
Mastering the Tamping Process
Distribute Coffee Grounds Evenly
Before tamping, ensure the coffee grounds are evenly spread in the portafilter. Uneven distribution can lead to inconsistent tamping and channeling. Use a distribution tool or lightly tap the portafilter to level the grounds. Uncover the key distinctions in our Philips 3200 vs 5400 review
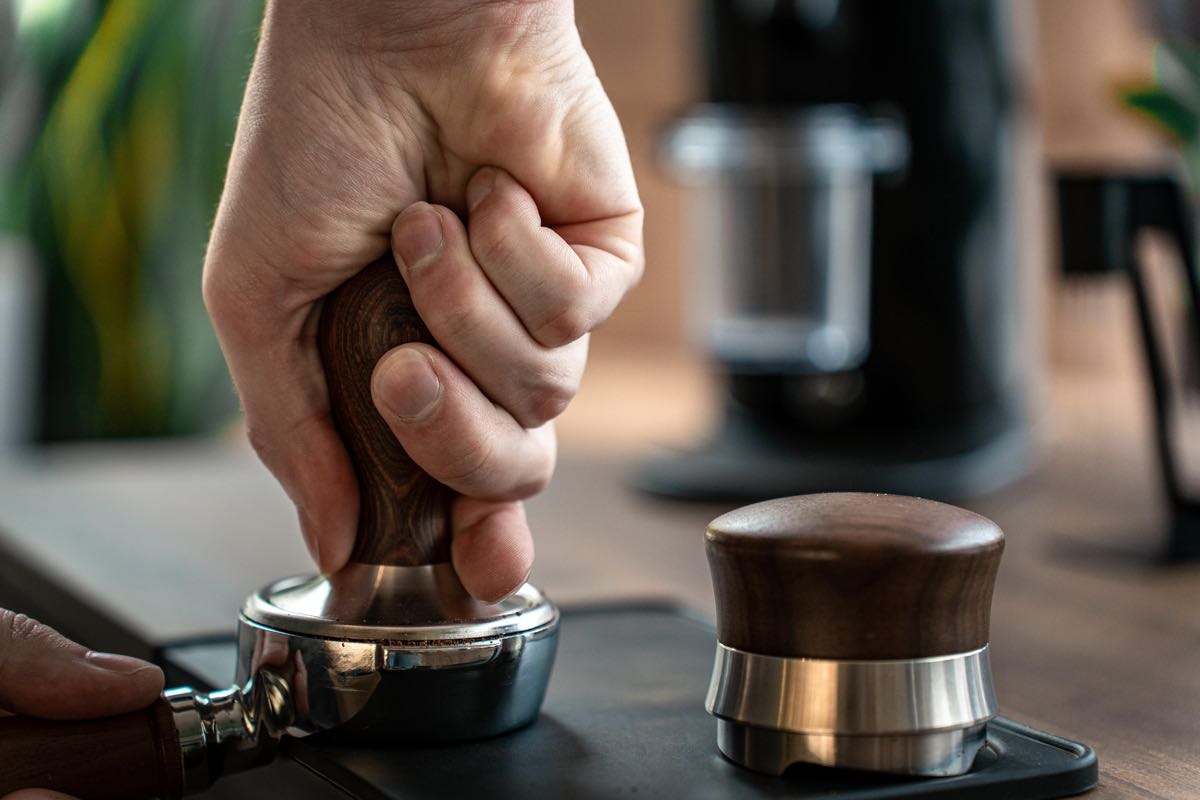
Hold the Tamper Correctly
A proper grip ensures control and even pressure. Keep your wrist straight, elbow bent at a 90-degree angle, and fingers securely wrapped around the tamper base. This positioning helps you apply uniform pressure without straining.
Apply Steady, Consistent Pressure
Press the tamper down firmly until the coffee puck feels compact. Stop once you encounter resistance—extra pressure won’t improve the shot and could cause over-extraction.
Maintain Consistency
Consistency is key to perfecting your espresso. Use the same amount of pressure and technique every time to create a uniform puck.
Use a Stable Tamping Surface
A sturdy surface, like a tamping mat or station, can improve your technique. It provides stability, protects countertops, and ensures an even tamp.
Common Tamping Mistakes to Avoid
Uneven Tamping
If the tamper isn’t level, water will flow unevenly through the coffee, causing inconsistent extraction. Always check that the tamper is flat and the pressure is evenly distributed.
Over-Tamping or Under-Tamping
Pressing too hard compresses the grounds excessively, leading to over-extraction and bitterness. Conversely, insufficient pressure can create a loose puck, resulting in sour and weak espresso. Strive for a balanced approach.
Skipping Proper Distribution
Failing to distribute grounds evenly can cause channeling, where water flows through less dense areas, leading to uneven extraction and subpar flavor.
Tools to Improve Your Tamping Game
- Coffee Distribution Tools: Help level the coffee grounds before tamping, reducing the risk of uneven extraction.
- WDT (Weiss Distribution Technique) Tools: Use fine needles to break up clumps for even ground distribution.
- Pressure-Calibrated Tampers: Ideal for beginners, these tampers click when the right pressure is applied, ensuring consistent results.
Perfecting Your Tamping Skills Through Practice
Mastering tamping takes practice and patience. Don’t be discouraged if your first shots aren’t perfect—refining your technique and developing muscle memory is part of the process.
Experiment with different pressure levels to find your preferred flavor profile. A lighter tamp can highlight sweetness, while firmer tamping may bring out bold, intense notes. Enjoy the journey of discovering what works best for your taste.
Final Thoughts: Consistency Leads to Better Espresso
When tamping espresso, focus on technique rather than brute force. Consistent, even pressure combined with proper ground distribution can dramatically improve your espresso quality. With practice and dedication, you’ll soon be pulling shots that rival those from professional coffee shops.
Remember, perfection comes with time. Prioritize consistency over precision, and enjoy the process of becoming a skilled home barista!
Frequently Asked Questions
How firmly should I tamp espresso grounds?
Aim for consistent, even pressure until the grounds feel compact. About 30 pounds of force is a general guideline, but focus more on uniformity than exact pressure.
Can tamping too hard ruin my espresso?
Yes, over-tamping can compress the grounds too much, leading to over-extraction and bitterness. Stop pressing once the grounds are firm and compact.
What happens if I tamp unevenly?
Uneven tamping causes channeling, leading to inconsistent extraction and poorly balanced espresso.
Do I need a tamping mat?
A tamping mat isn’t essential but is highly recommended. It provides stability, protects your countertop, and ensures a level tamp.
Should I use a calibrated tamper?
Calibrated tampers are excellent for beginners as they help ensure consistent pressure, improving overall results.